Collecting Items
Triggers are an essential part of game development because they allow you to detect when game objects are in, enter, or leave a specific area of your game. For example, you might use a trigger to detect when an idol has been placed on a pedestal or to make a door open when the player stand in front of it.
Overview
In this example we're going build the basis for collecting items in an unbound project. We'll add a trigger zone, connect it to a trigger logic block, and then use the setVisibility block to test whether our triggers are working as expected.
Logic Blocks Used in This Example
- trigger
- ifGate
- setVisibility
Related Information
If you're unfamiliar with visual scripting, consider reading Unbound's Logic Block Basics before continuing.
If you'd like to follow along or see the finished product you can download the file here.
What We're Building
We'll be building upon the Character Movement example in which we added a character puppet and got it moving. If you'd like a deeper dive on the characterPuppet or characterController logic blocks, you may read that guide first but they're not prerequisites for this example.
We need very few things in our scene to make this work.
- A character that can walk around
- An object to collect, in this case a coin
- And a trigger to notify us when the character touches the coin
Setting up the Trigger Zone
Triggers allow you to detect when game objects enter, exit, or are within a certain area (trigger zone). In this example we're looking for when the player steps onto (collects) a coin.
We're only going to cover the numEntitiesInside output of the trigger logic block, but you'll have enough understanding by the end to intuit the remaining outputs 
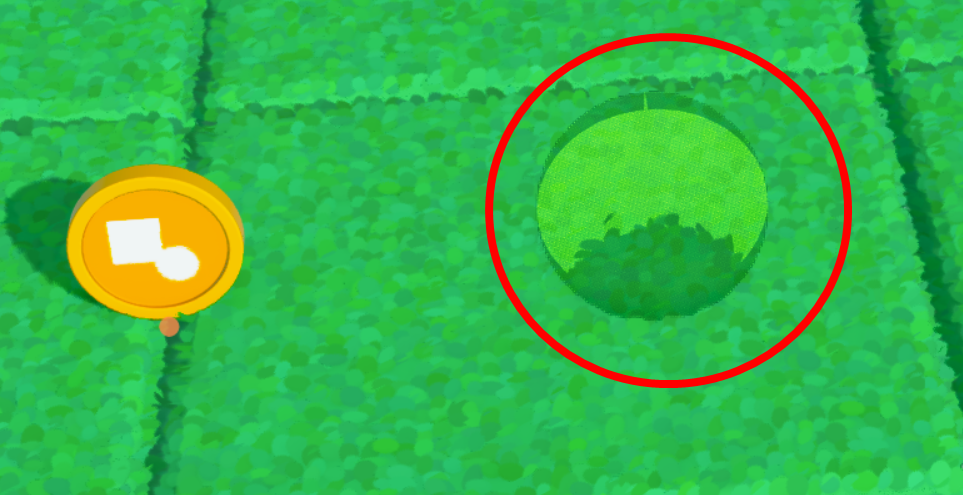
Let's start by adding a trigger. To do so, click + trigger zone from the play tab and place it anywhere in the scene.

That will leave you with a yellowish, translucent sphere in your scene.
Just like a model, you can click on it to change the position and scale. Since we want it to represent the "pickup area" for this coin, we'll want it centered on that model.
The quickest way to do this is to open the organizer then click and drag the trigger onto the coin model. This will make the trigger a child of the coin, which will make it easier to center on the coin but it will also mean when we move the coin the trigger will move as well. This is exactly what we want because the trigger represents the coin's pickup zone, so they should remain together.
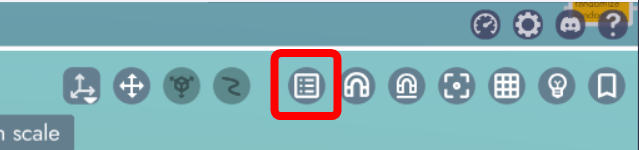
Don't see the organizer?
To open the organizer, click this button in the toolbar.
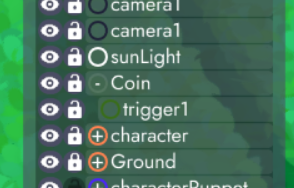
If done correctly, you'll see the trigger indented under the coin model like this
Tip
If you need to reverse this move, you can un-parent an object in the organizer by dragging it all the way to the bottom of the list and letting go. This will return the object to the highest order in the organizer.
Now that the trigger is a child of the coin, select the trigger in the organizer and then reset its position to the origin (i.e. centering it on the parent) by clicking on the reset position button above the organizer. This will set the trigger to (0,0,0) within its parent model (the coin). You should see the trigger surrounding the coin like this.
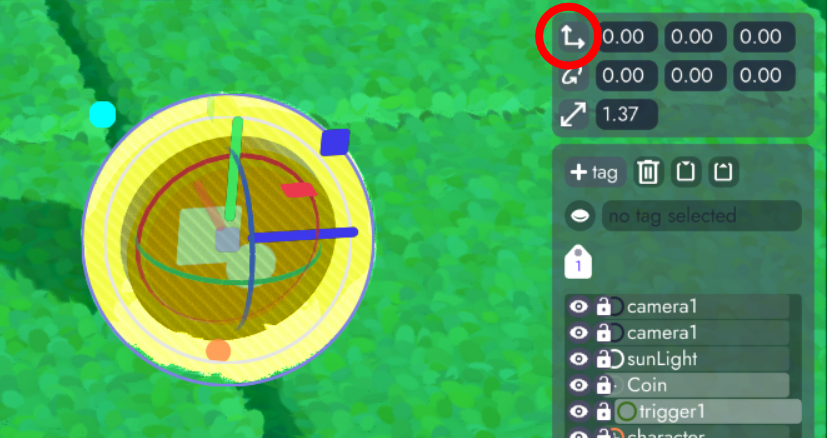
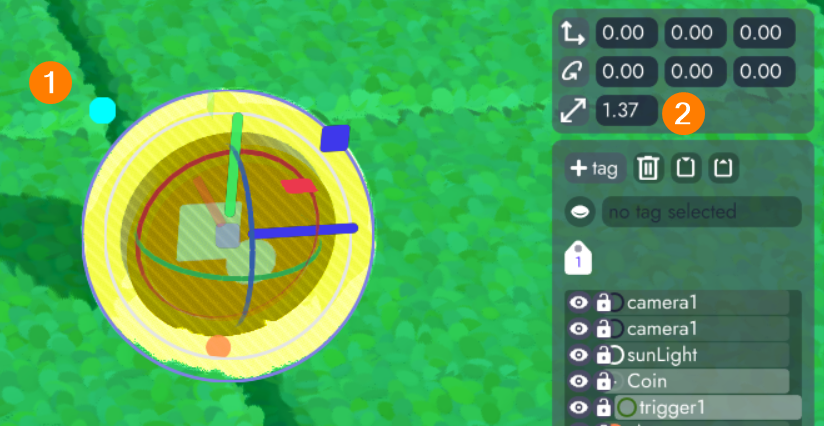
The trigger should be slightly larger than the coin. If it's too big or small, you can resize it by clicking and dragging the light blue dot (1) in the upper left of the transform gizmo or by changing the trigger's scale above the organizer (2) 
Does Your Gizmo Look Different?
If your gizmo looks different than this one, refer to the Manipulation Gizmos article
Adding Trigger Logic
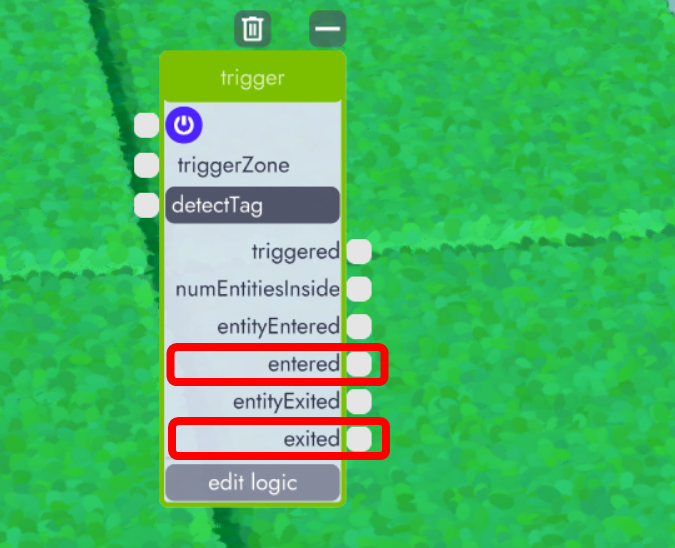
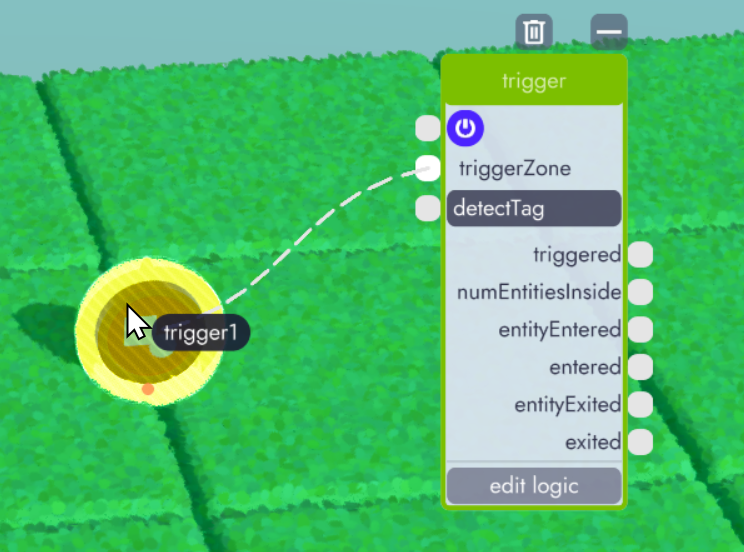
Now that we've got a trigger zone, we'll need to pair it with a trigger logic block to be able to detect when something interacts with it. From the Play Tab, open the Logic Library and drag in a trigger block.
To tell the trigger logic block which trigger zone it should monitor, drag a connection from the triggerZone input of the trigger logic block onto the trigger zone in your scene.
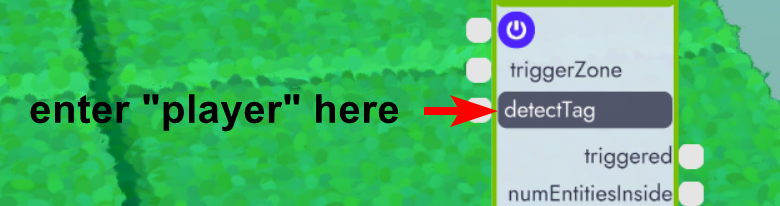
With no further changes, this trigger will detect when ANY model enters, exits, or remains inside this triggerZone... which is not what we want. We only want to know when the player enters this trigger. We can do this by setting the detectTag field to a tag that identifies the player. This can be any tag you want, as long as what you enter in the detectTag field matches a tag applied to the player. Let's use "player"
First, in the trigger logic block click on the detectTag field and enter "player".
Then, open the organizer and select the character puppet (in the example file linked above, it's called "character"). At the top of the organizer, click the + tag button and then enter "player" in the field that appears. This creates the player tag and adds it to the player at the same time.
 With the player tag selected (click the tag icon below the tag entry field) you can toggle all objects that have been tagged with "player" by clicking the eye next to the tag name. The character puppet's visibility should toggle when doing this. If it does not, the tag has not been applied properly. This step isn't required - it's just a way to verify the tag has been properly applied.
Reacting to a Trigger
We're almost there. We've connected our trigger zone to a trigger block. We've also told that trigger block what tag to look for and have applied that tag to the player. Now the only thing left is to actually DO something once the player steps into the trigger zone.
Let's confirm that our trigger is working properly by making the coin invisible when the player steps on it and making it reappear when the player steps away. Here's what the final graph should look like.
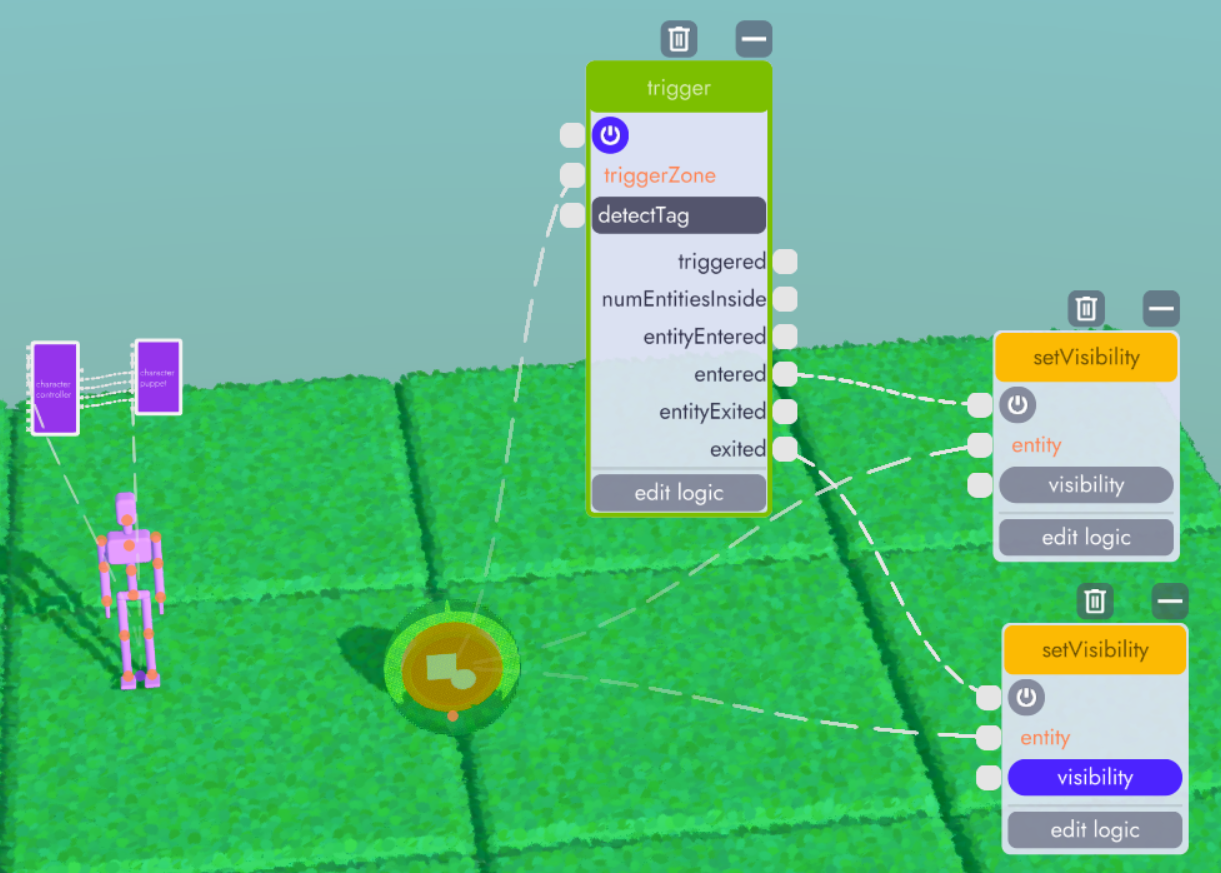
- Drag a setVisibility logic block into the scene
- Drag an ifGate logic block into the scene
- Connect numEntitiesInside from the trigger to valueA of the ifGate and then set valueB to 0. numEntitiesInside will report the number of entities (with the correct tag) inside the trigger at any given time. When that number is zero (i.e. the player isn't inside) zero will be equal to zero (valueA == valueB) and the gateOpen output will be true. When valueA is anything but zero, gateOpen will be false.
- Now, with that logic in place, we can connect the gateOpen output to the visiblity input of setVisibility.
- Connect the entity input of setVisibility to the coin. You will need to toggle off the visibility of the trigger, which you can do from the organizer, in order for the connection line to detect the coin since it is inside the trigger.
- Lastly, we need to put the "player" tag on the puppet's collider (the yellow ring inside the model). To do this, open the organzier and expand the "character" joint. Then click on the "collider" child and add a tag. See gif below for more details on this step.
If everything is set up correctly, when the player walks over trigger zone the coin will be hidden and when leaving the trigger zone it will reappear.
Making adjustments to the trigger zone's area
If you find it too difficult to walk over the coin, consider making the trigger zone larger. Remember, it's detecting the purple joint between the player's feet - not the entire player model.
While this may not be super exciting in and of itself, you now know how to create and react to trigger zones in your project. In the next article, Randomization, we'll take this a step further to make the coin randomly move to new locations when collected.