Adding Animations
The Play Tab is where you'll design interactivity, add triggers, and as is the subject of this article - create animations! For more information, refer to the article on the Play Tab
Creating an Animation
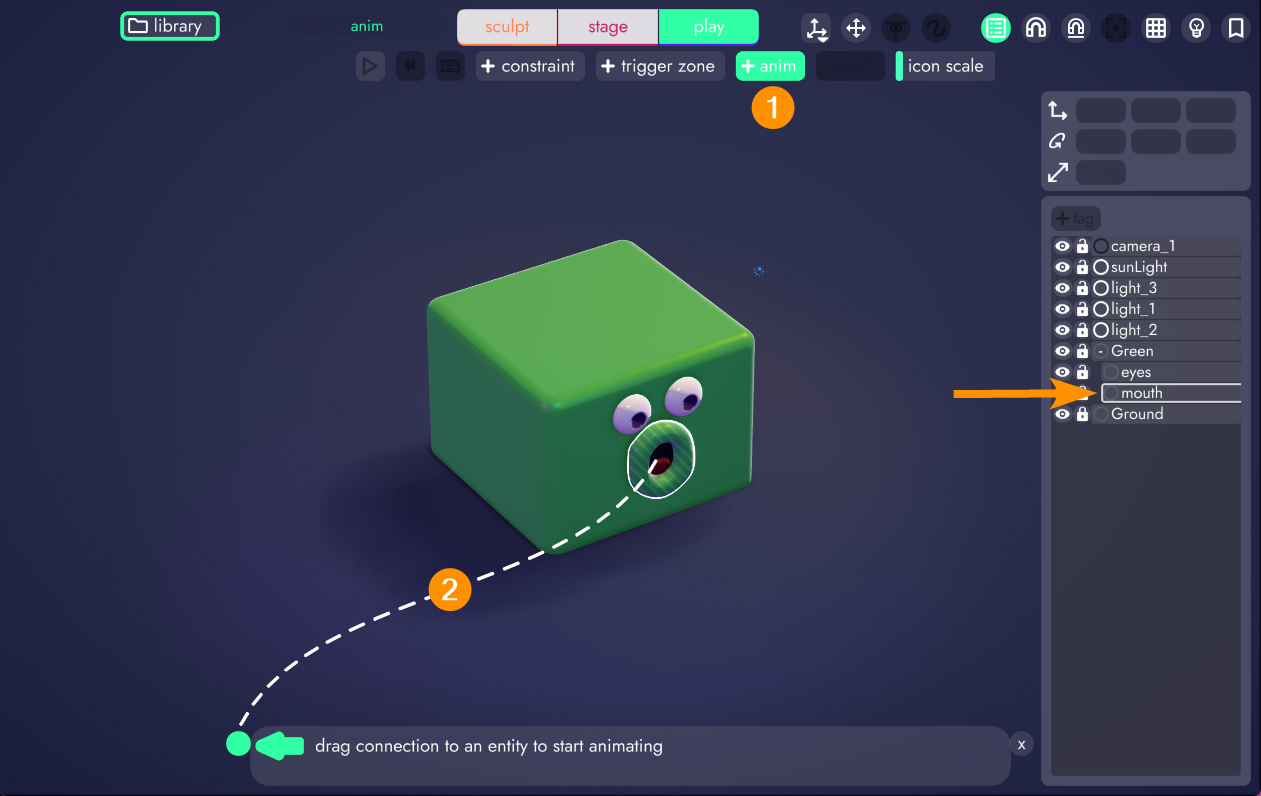
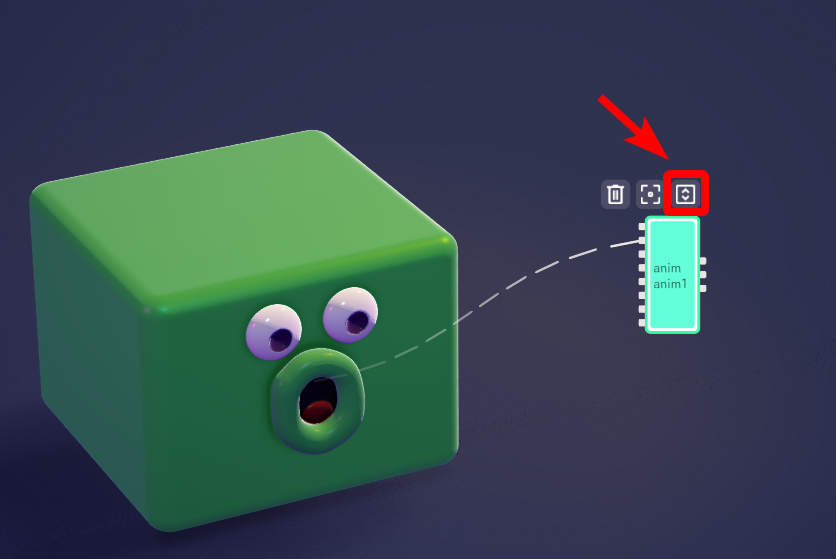
To add an animation to your project, head over to the Play Tab.
- Click the + anim button
- Drag a connection from the animation widget to the model you want to animate
Tip
If you have a bunch of models in a tight area and are having trouble connecting to the right one, you can lock or hide unwanted models from the organizer until the correct connection has been made.
Animation Timeline
With a model connected to the animator, a timeline will appear. You'll add keyframes to this timeline. At each keyframe you'll change properties on that model and during playback unbound will interpolate between those keyframes to create animation for you.
Any property that you can set in the editor can be part of an animation!
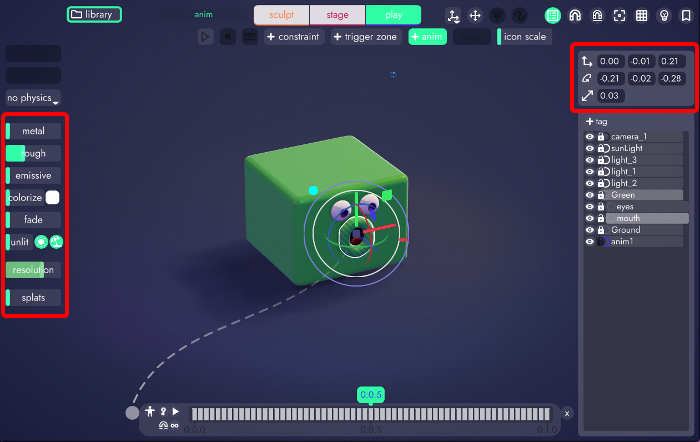
Let's take a look at some of the key features of this timeline.
Adding Keyframes
To add a keyframe, click in the frame you'd like to edit and then click the key icon. If you're unsure about timing, don't worry - keyframes can be dragged around the timeline.
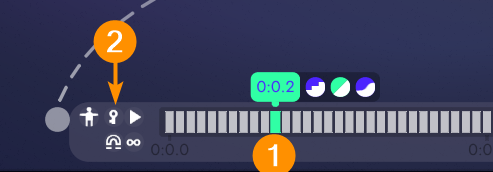
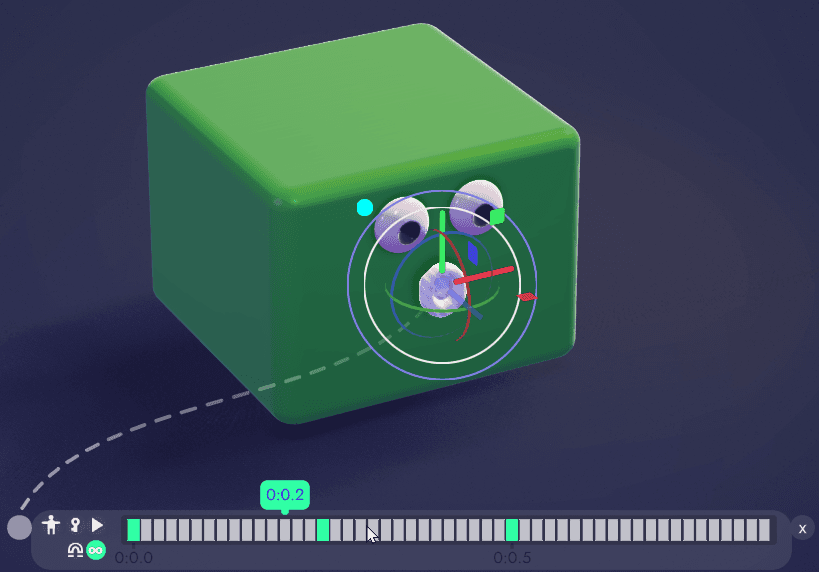
While the keyframe is still selected, you can now make changes to the connected model and those values will be stored in the keyframe. Bear in mind, with only one keyframe there will be nothing to animate.
Animations are interpolations between two points. So you will need to add at least 2 keyframes for unbound to have something to animate.
To demonstrate this, let's make a looping animation.
Looping Animations
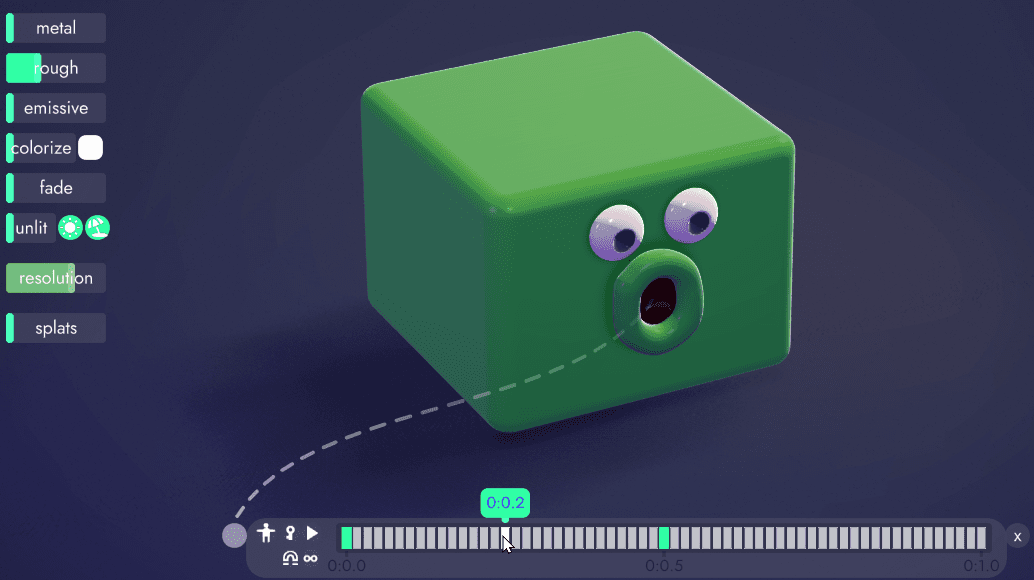
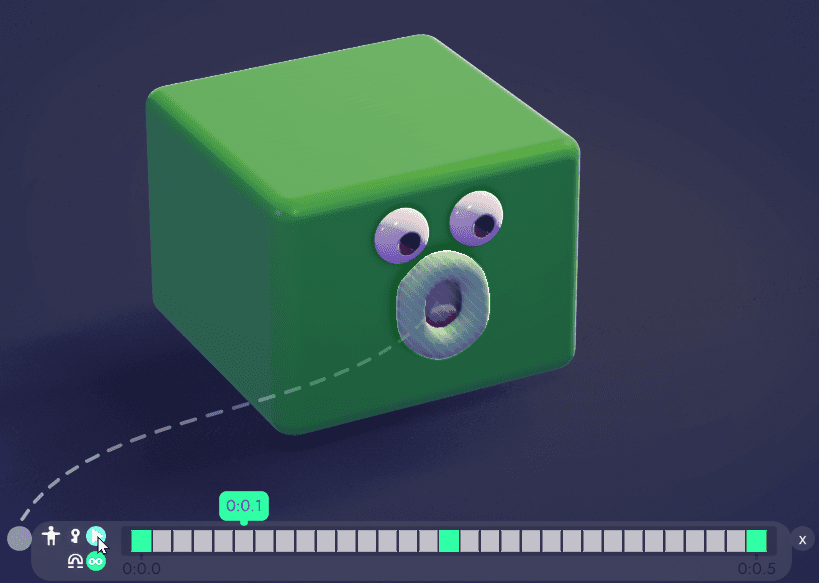
Since a looping animation needs to start and end in the same state, let's start by adding two keyframes. One at the beginning of the animation and one at the end.
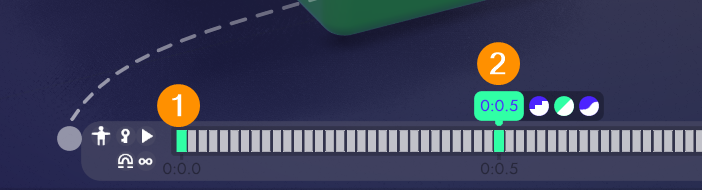
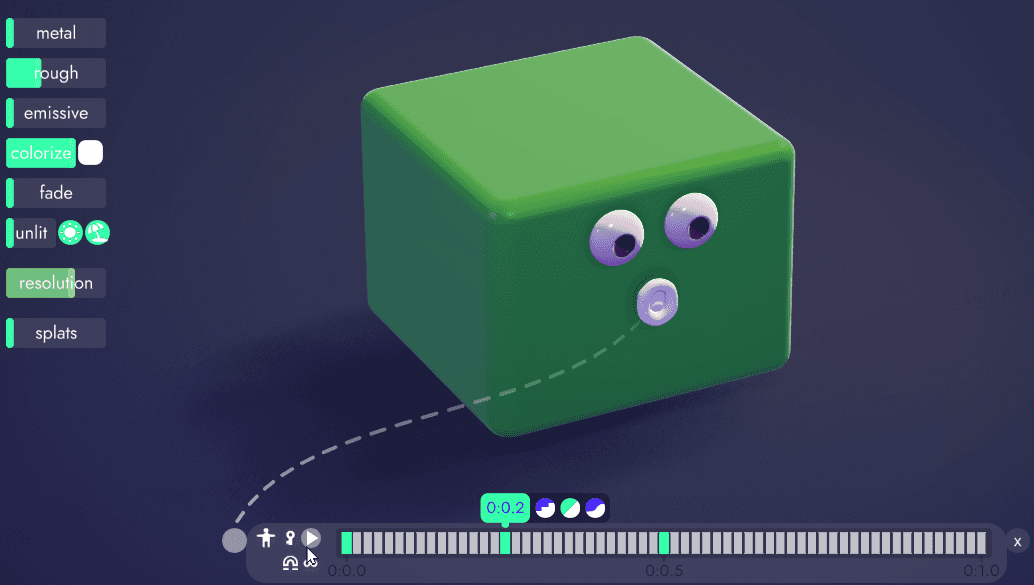
We want these frames to be identical so that our animation starts and ends on the same properties, so we won't make any changes to these two. Anything we want to animate will go in between these keyframes. So let's add a third and change 2 properties on the mouth.
- scale
- color
These changes are now stored in that middle keyframe. In order to make it loop we have to click the little "infinity" icon (the figure 8 on its side) and then click the play button to review the animation.
Now we can see our animation looping in unbound. If we want to make additional changes or animate more properties we're free to reselect any keyframe (or add more) and record more adjustments.
Re-timing an Animation
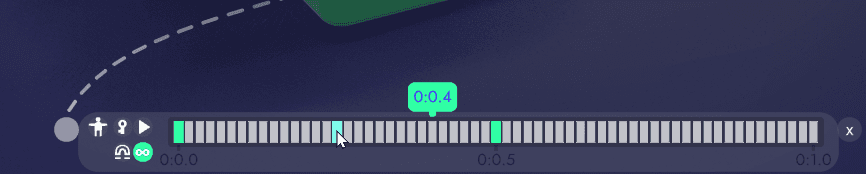
If you'd like the animation to be faster or slower you can simply click and drag the keyframes so they're closer together (faster) or farther apart (slower). The example below would make the animation faster.
Animation Length
By default, animations in unbound are 1 second long. If you'd like the animation to be longer or shorter you can right click and drag the timeline left or right to make it longer or shorter, respectively.
In the example above we made the animation much shorter which means we left a big gap at the end. If we want our animation to loop cleanly with no pause before restart, we can adjust our tlimeline so that the 3rd keyframe is at the far right of the timeline. If you don't resize it perfectly, remember you can also drag keyframes around the timeline.
Easing Animations
Each keyframe has 3 easing curves to choose from:
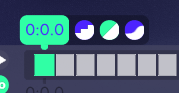
- stepped - snaps sharply between keys
- linear (default) - moves gradually from one key to the next
- ease in/out - applies some acceleration and deceleration between keyframes
Use these for finer control over the look of your animations. Here's the same animation above using stepped and in-out.
Animation Using Stepped Interpolation
Animation Using Easing

Hide/Show Timeline
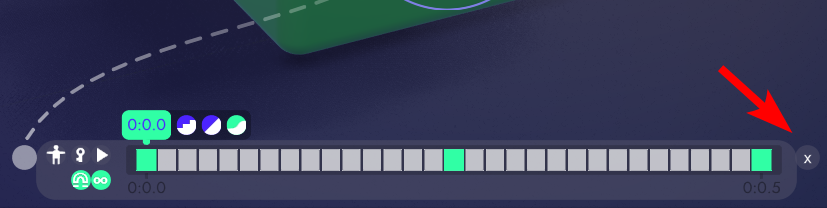
When you're done working on an animation click the X on the right to close the timeline.
To continue making edits to an animation, click the "show timeline" button on its anim-block.
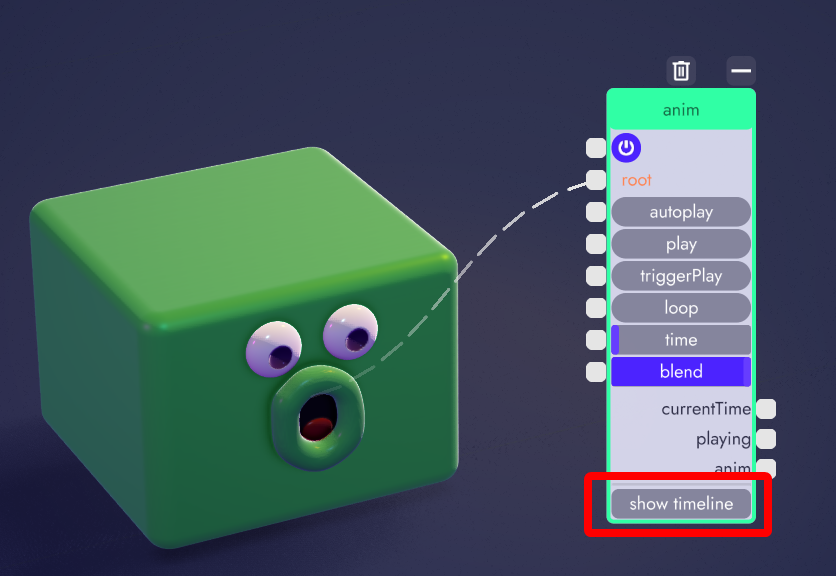
If your anim block is collapsed, hover over it and click the expand icon to see the contents of the block.
Bonus Tips
As animations get more complex (or if you're working with a longer timeline) it can be tricky to accurately select keyframes. With the magnet option turned on you can left-click and drag inside the timeline and unbound will snap the selection from one keyframe to the next.

The icon that looks like a puppet allows you to toggle between viewing all keyframes on an entire model or just the selected model. Since an animation might be connected to a parent model with many children, that animator can control any of the nested children.