Edits
Overview
The two most foundational concepts when sculpting in unbound are Models and Edits. In this article we'll discuss the second.
- Models: which contain primitives (Edits)
- Edits: primitive shapes which define the shape of a model
Edits
In the next article, Working with Edits, we'll cover how to manipulate edits to make complex shapes. For now, let's just take a high level look at what edits are.
Properties
Edits begin as primitive shapes, but as you adjust their properties, their order in the edit list, and their mode you can change how they interact with one another.
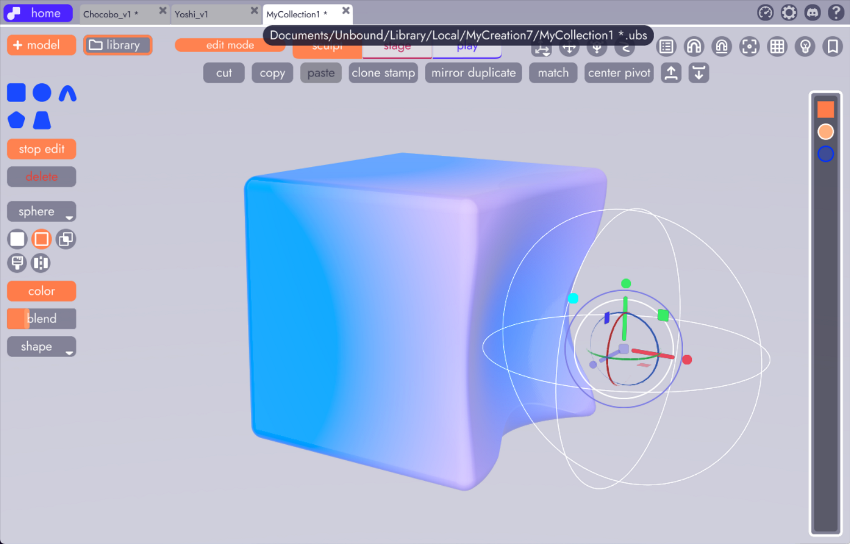
Take this very simple model consisting of only 2 edits, a default cube and sphere.
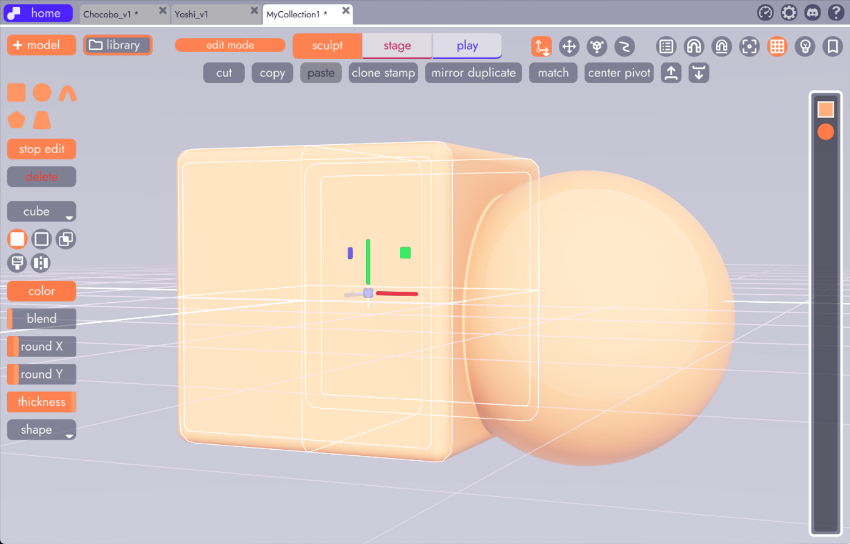
With the cube selected, we can modify how it looks by changing its rounding and thickness properties.

Primitives may have different specialized properties, depending on their starting shape, but there are some that persist throughout all of them, such as blend. You may notice that these two shapes still look like separate objects, which is likely not what we want. That's where blend comes in.
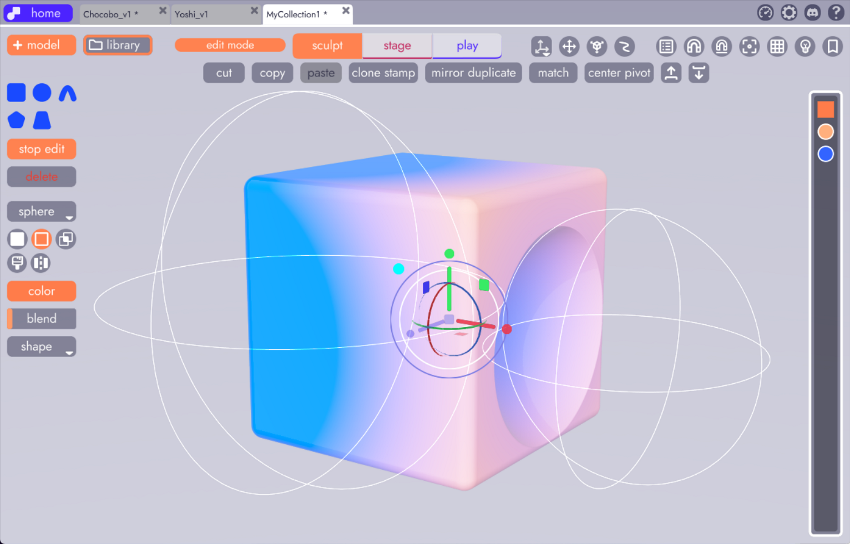
To make these shapes smoosh together more like clay, let's change the blend property on the sphere.
With very few adjustments we're already getting shapes that look very different than the primitives we started with.
Why not change blend on the cube?
We changed the sphere's blend property, rather than the cube's, because blend affects all edits ABOVE it in the edit list. You can change the order of edits by dragging and dropping them within the list. We'll cover this and other tips in the article on The Edit List
Edit Modes
Besides the shape they take, edits can be set to a variety of modes that control how they affect the other edits within the same model.

These will be covered in more detail in the next article, Working with Edits. These modes dictate whether a model adds to, subtracts from, crops, or only paints color onto another model. There are also modes that allow you to crop or mirror models, neither of which we're going to cover in this article.
Here's an example of a cube with a sphere on either side. The left sphere has been set to paint mode and the right sphere to subtract, meaning that its volume removes from the model instead of adding (that's why you can't see it).
And changing blend property of each of these edits will change how much or little of their affect is applied to neighboring models (again, only models above the edit). Here we've turned up the blend properties of both spheres. You can see the shape of the left sphere's paint is less apparent, because a higher blend created a softer transition. And with the blend on the right sphere turned up, the bite it's taking out of the cube isn't as sharp.
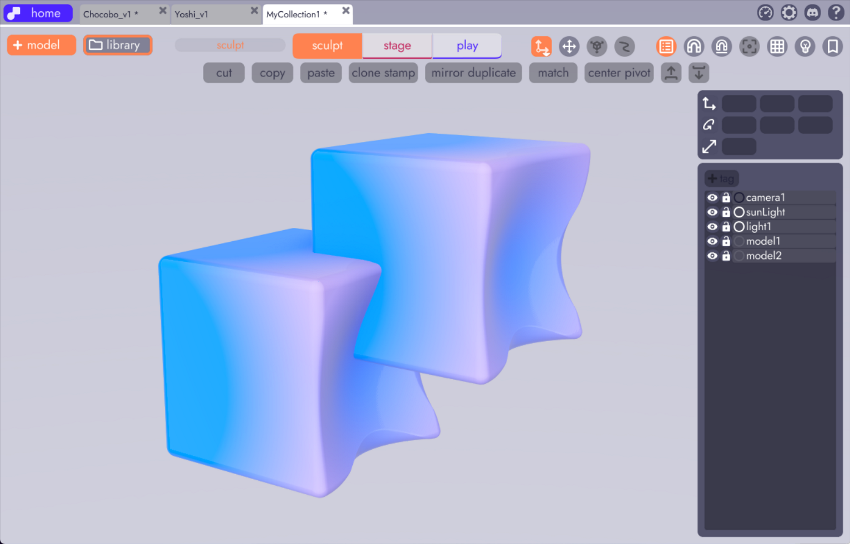
If we exit the model (by clicking in the scene or on "stop edit") and duplicate it. You can see the two models intersect very sharply because models do not affect one another like edits do nor do edits from one model have any affect on the edits in a different model.
In the next article we'll take a closer look at The Edit List and how that affects the way edits interact.