Snapping Tools
Snapping Transforms
Holding the S or CTRL key will cause move, rotate, and scale to snap to discrete increments. You may notice that the rotation rings will become dotted to signify snap mode has been activated.
Note
In the gif above you can see the local axes changing in realtime as the model is rotated.
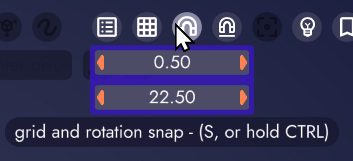
You can permanently toggle this setting on by clicking the magnet icon in the toolbar.

And you can change the snapping increments for position and rotation by hovering over this tool.
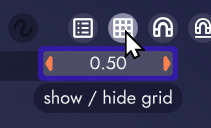
You can also toggle visibility and adjust the grid size with the Grid Tool button.

Snapping to Surfaces
The surface snap option allows models and edits to stop their origin to the surface of other objects when being placed in the scene. This is especially helpful if you're rapidly pasting or clone-stamping flowers (or mushrooms!) onto a surface that doesn't align with your view. It's also very handy when painting edits with the spline too if you want new edits to wrap around an undulating surface.
With this feature turned off, objects will pass through 3D space without regard for other objects in the scene.
With this setting turned on, objects will snap to the surfaces of other objects they come into contact with.
To toggle this setting, click the underlined magnet in the toolbar it or use the keyboard shortcut X.

Conclusion
These tools (and others) can be combined in all sorts of ways to manipulate objects in an unbound scene. For more advanced options, check out the settings menu (gear in the upper right) for features that can be toggled on/off while transforming an object.